How to set up Netgear Nighthawk RAX50 for nbn HFC
You'll need to plug in your Netgear Nighthawk RAX50 and change some settings to get it working with TPG nbn HFC.
-
First, make sure you’ve got a message from us asking you to plug in your nbn modem. We need to get your connection ready on our side before you plug in.
-
Find your phone wall socket and nbn Connection Box (NCB) – you probably already have a modem plugged in from your last internet service. Unplug any old modem from the NCB and power outlet.
If your NCB is missing, please call us on 1300 023 575. -
Attach the antennas to your modem and put them in an upright position.
Each antenna has a label that must match the label on the antenna socket. -
Use the Ethernet cable to connect your modem’s yellow Internet port to your NCB's UNI-D1 port or 2.5G port.

-
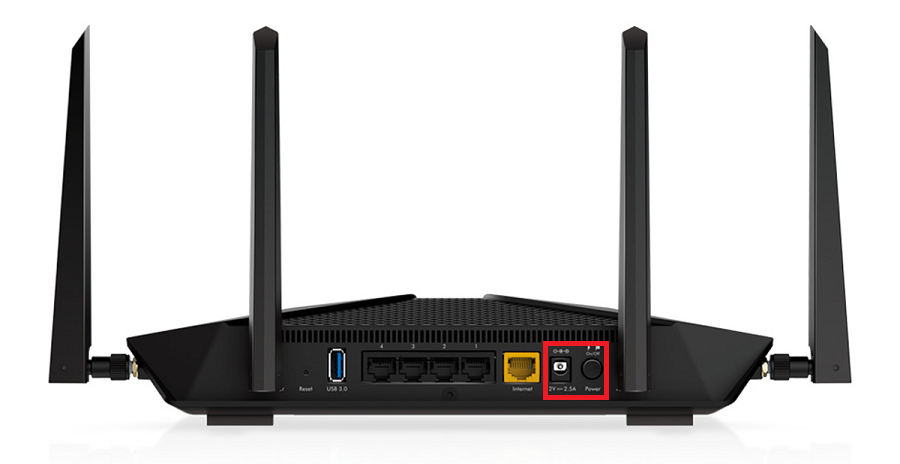
Use the power cable to connect your modem's Power port to a power outlet. Press your modem's Power button to turn it on.
- To connect devices to the WiFi, you'll find the default WiFi name and password on your modem's barcode sticker.
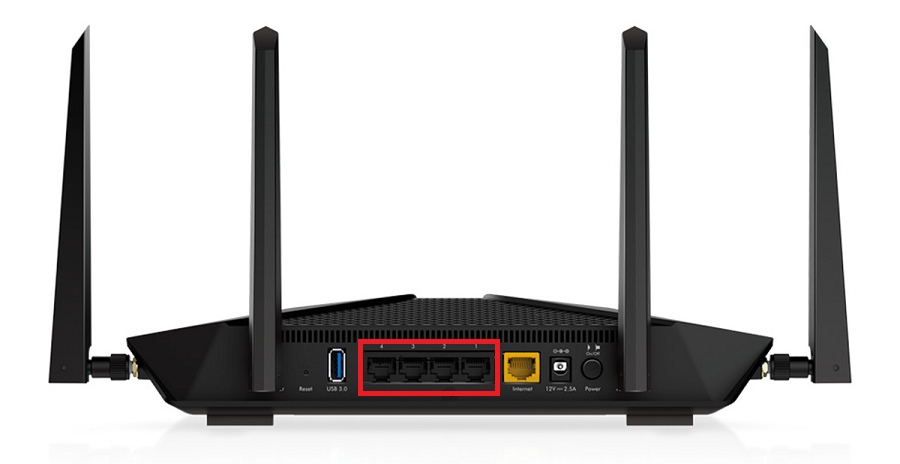
- If you have extra Ethernet cables, you can connect up to 4 devices to your modem’s yellow LAN ports.
-
Open your web browser and go to: https://192.168.1.1 or https://www.routerlogin.com
-
Log in with the default username "admin" and the default password "password" on your modem's barcode sticker. If you have custom login details, use those instead.
-
Select BASIC > Internet.
-
For Does your Internet connection require a login?, hit Yes.
-
Set Internet Service Provider to PPPoE.
-
Enter your TPG username and password.
Your TPG username can be found in emails from us about your TPG order. If you've forgotten your password, reset your password. -
Set Connection Mode to Always On.
-
Set Idle Timeout (In minutes) to 0. This will stop your internet connection logging out after a period of inactivity.
-
Set Internet IP Address to Get Dynamically from ISP.
-
Set Domain Name Server (DNS) Address to Get Automatically from ISP.
Prefer to select Use These DNS Servers? TPG's primary DNS is 203.12.160.35 and the secondary DNS is 203.12.160.36. -
Set Router MAC Address to Use Default Address.
-
Hit Apply.
-
If you have a bundled nbn & phone plan: Select ADVANCED > Advanced Setup > VLAN/Bridge Settings and tick the box for Enable VLAN/Bridge Setup. Select By VLAN tag group and then hit Add. Enter a Name, e.g. "TPG", set VLAN ID to 2 and set Priority to 0.
-
Hit Apply and you're good to go.
Can't get online? Call us on 1300 997 271 and we'll help you.